 elixxier – Photo Blog Light settings and lighting structures for studio and outdoor photography. Tips and tricks for set.a.light 3D – The photo studio and light simulation for photographers.

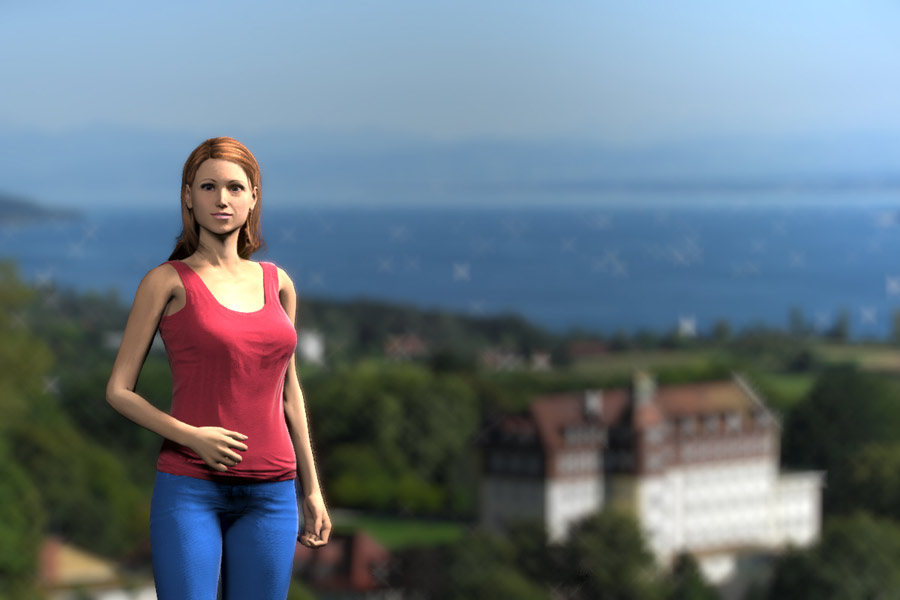
Portrait photography contains images of living things, mostly humans, but also creatures and animals. This famous genre of photography is all about “showing them in their correct light” as one would say. We want to point out characteristics of them or capture their emotions or their physical and emotional condition.
Age, attractiveness,. beuaty or gender do mostly play a submissive role here. We focus on technical aspects and design, choosing the right objectives, focal lenght and image section for a good picture. It’s also important to be aware of the reason why this photo is shot:
Is it used for advertising, familiar matters or an application?
Digital photography brings many advantages, because as a newcomer or amateur you can work faster and more targeted. But the analog part is highly appretiated as well, fpr example when it comes to artistic photography.
 A miniature camera or 35mm camera (analog/film – digital: full frame /full format– i.e. EOS 5D Mark III) has to be chosen when you work fastly and more intuitively. But remember that a digital photo most of the time will be of a better quality than the 35mm film back in the analog days
 A medium-format camera gives you the possibility of detailed pictures that can be lighted in a rather big format as well. Its case is bigger and less handy. And of course, the high price also takes and important role here.
 The large-format camera is still the high-class camera here. It contains more options – shift/tilt – and takes more time to set up. At the same time a tripod is extremely necessary, which leads to not being able to change the perspective quickly. The results speak for themselves – not only because of the high resolution and the many small details, but also because of the versatile effect of the changable focal plane. Due to its deficits in handiness and its complicated handling it mostly is used whilst photographing lifeless things such as architecture.
Objectives:
The focal lenght of a classic portrait objective is just like a telezoom-objective with high light intesity (referring to something between 80 mm and135 mm, which leaves a certain distance to your model). Whilst using a telezoom-objective less light comes through onto the sensor or film. By using a wide-opened aperture you can counteract this effect. At the same time you have more options to play with blur, which can give the portraiture more excitement.
All other focal lenghts are fine for portrait photography of course, it just depends on the desired effects. That’s why a strong teleobjective is able to unnoticeabely light pictures and objects of different distances seem to move closer together.
A wide-angled lens can help to include all of the surroundings when you are in a narrow room. The result will get more detailed like this. It can also be used to “fake” proportions like a big nose or longer legs. Objectives with set focal lenghts are preferred in studio and portrait photography because they display stronger, more exact and you can buy them with high light intensities.
Aperture:
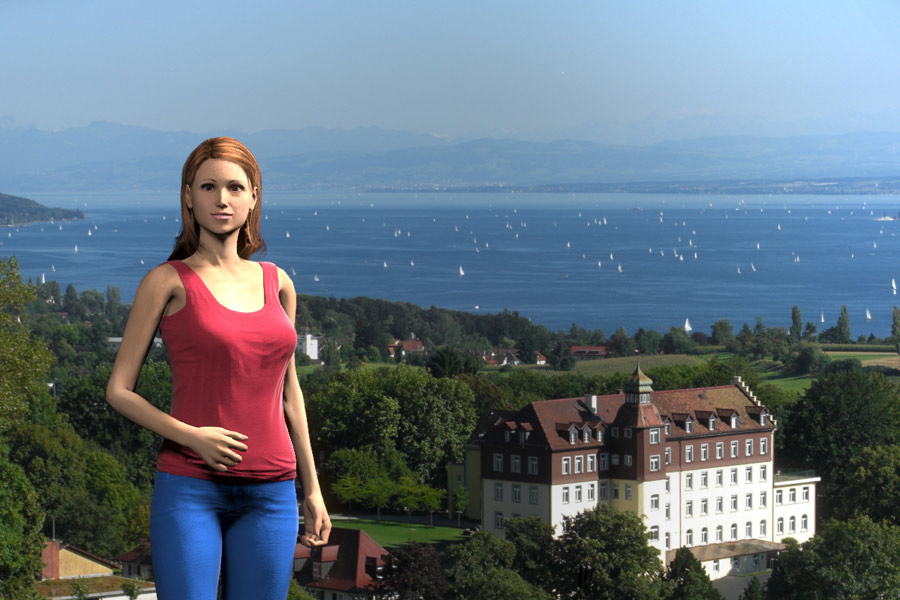
A big and opened aperture makes it possible to play with blur and gives the effect of making the portraited picture appear more important – you can display the person sharper and more in-focus, while the background seems to be a bit blurry. The viewer is forced to look at the dominat parts of the picture, the most relevant so to say, that should be your person. In studio photography this effect doesn’t play an important role, we mostly work with a neutral background. The use of an opened aperture brings other advantages here, but the small focus range (depth of field) leads to us having to be exactly aware of where the focal plane is.
opened aperture (small number, 2)
When your person is in the focus, it would be strange if his or her eyes would be blurry or only one eye looks sharp.
The good thing is that we are able to control the ighting in the studio very well. You culd intesify the output of the flashes in order to work with a very small aperture (high aperture number). This makes it easier to deal with blurriness. But watch out with your background here: If your aperture isnearly closed and your models is close to the background, it will get sharp as well. If you’d now use a background foil, kinks and bends are completely visible, just like dirty spots from previous shoots… That’s why a blurry background can be an advantage.
closed aperture (high number, 8)
Photo background:
Portrait photography is about eh person in the foreground, that’s why we should give the background some attention. This might sound strange, but it can be explained like this: If the back of a picture is too exciting or too “restless” (colors, motive), it can take the attention from your model. At the same time, daily things like a power socket, a bottle, and many other things seem to act disturbing. Different materials reflect light in different ways or even with a certain amount of color in it. That’s why the lighting has to be matched with the background – we don’t want to have any sources of error here. If the photobackground should be used, one or several separate light sources are necessary.
Post-processing:
Today photoshop and other softwares do the work that earlier was done in the darkroom, which was way more time-consuming and hard to do. Even analog pictures can be digitalized and edited on your computer. The possibilities are endless! The big palette of process steps reaches from small basic corrections up to manipulation, which nearly doesn’t have anything in common with the original picture. The most-used software here is Adobe Photoshop.
At this point technical help and design come together, both influence the look of our images a lot. Due to the thousands of things you can do with editing, we don’t want to get into this any deeper. Many tutorials around the internet explain certain steps or effects that can be achieved with softwares. Use them to get better at it and let them help you. It’s worth it!
Our 3rd chapter will contain different types of light and lighting design.
Have fun!
This post is also available in: German